TECHNICAL GUIDE / 2026-10-12
How to Choose Sanding Disc Grit Size for Weld Blending
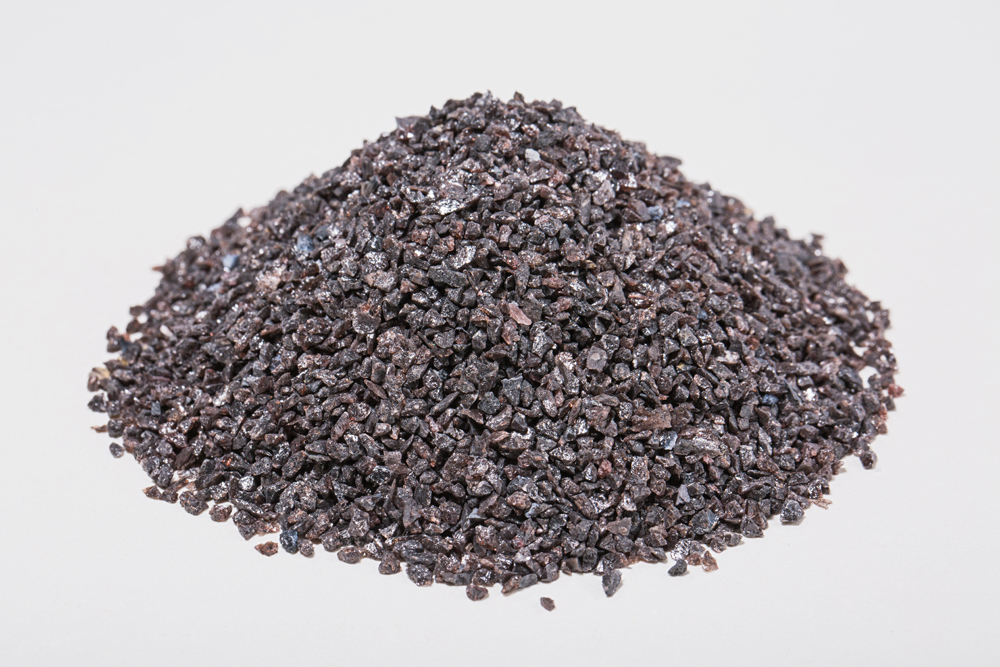
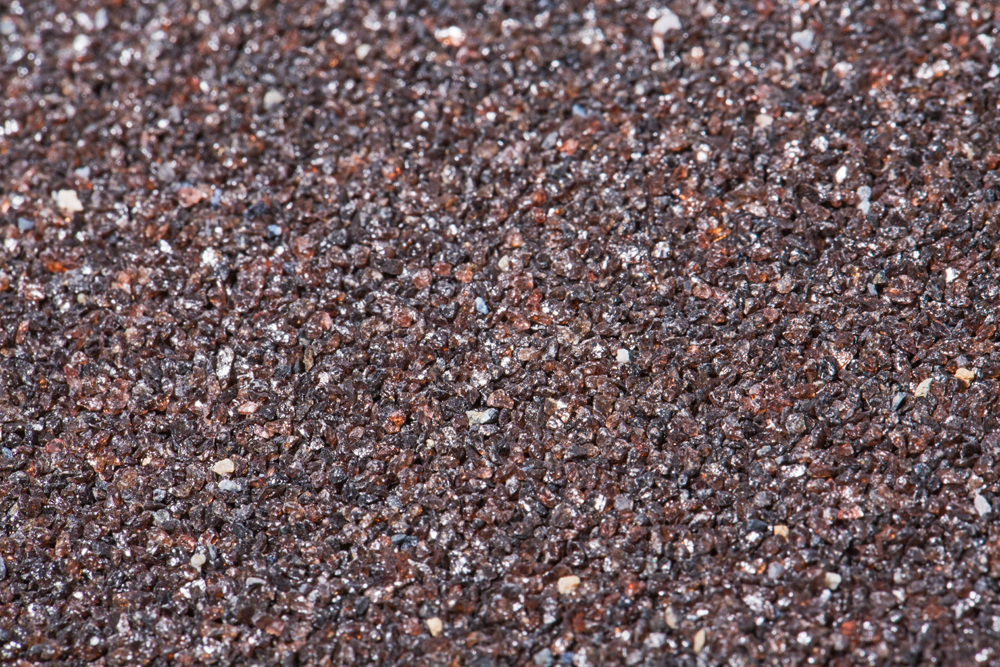
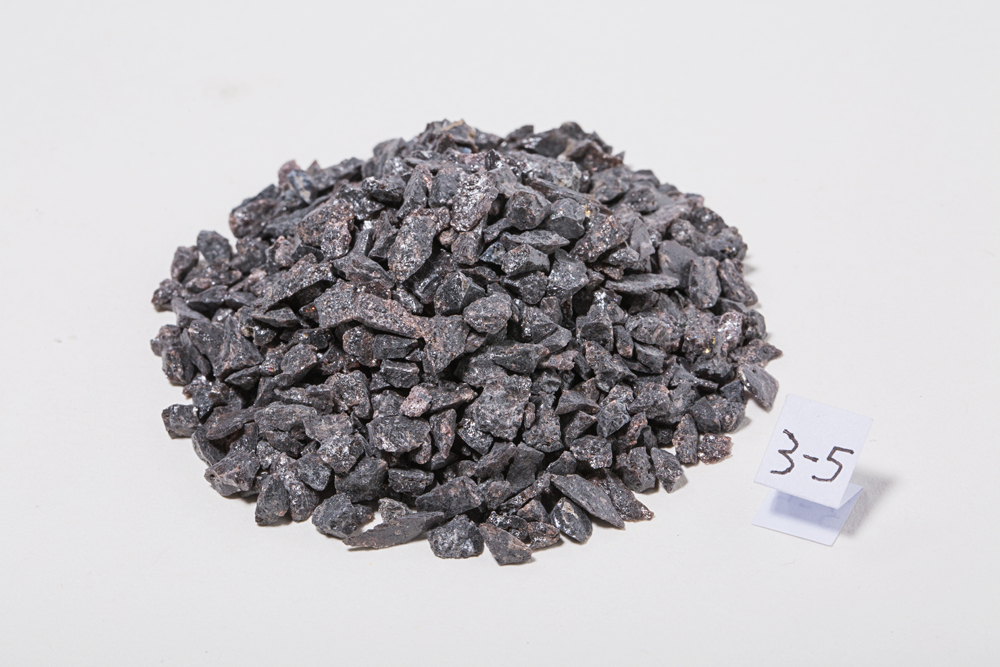
Weld blending is the job that exposes a poor grit choice faster than any other coated-abrasive work. Knock the weld down too aggressively and you gouge the base metal; blend too fine too soon and you polish the weld instead of leveling it. The fix is not one "best" grit — it is a grit sequence, each step matched to the task at hand. Here is how fabricators choose that sequence with brown fused alumina coated abrasives.
What Weld Blending Actually Involves
A welded joint comes off the welder with excess reinforcement: a weld bead standing proud of the base metal, surrounded by discoloration, spatter, and a heat-affected zone. Blending means leveling that bead down to the parent surface and leaving a uniform finish that looks intentional, whether it will be painted, powder-coated, or left visible.
The work naturally breaks into three stages:
- Weld knockdown — remove the bulk of the weld bead quickly.
- Blending — feather the weld into the base metal without gouging.
- Finishing — produce a uniform scratch pattern ready for coating or display.
Each stage wants a different grit. Using a single disc for all three is the most common way shops lose time.
The Grit Sequence That Works
For brown fused alumina on steel, most fabricators work down this sequence (FEPA P-grit):
| Stage | P-grit band | What it does |
|---|---|---|
| Weld knockdown | P36–P40 | Removes weld bead fast; deep scratch pattern |
| Blending | P60–P80 | Levels the transition; removes P36–P40 scratches |
| Finishing | P120–P180 | Uniform, fine scratch pattern for coating or visible finish |
Two rules make this sequence work:
- Never skip more than one grit step. Jumping from P40 to P120 does not save time — the P120 grain is too small to cut the deep P40 scratches, so it grinds on top of them and glazes. Each step exists to erase the previous step's scratches.
- Change discs when the cut slows. A worn P60 cuts slower and hotter than a fresh one, and heat is what causes the blue discoloration and loss of corrosion resistance that shops are trying to avoid.
Choosing the Right Disc Type for Each Stage
Sanding discs come in several formats, and the backing matters as much as the grit:
- Fiber discs are the workhorse for weld knockdown on steel. The stiff fiber backing supports aggressive cutting at P36–P60, and they pair with a backing pad — a softer pad follows contours for blending, a harder pad flattens faster for knockdown.
- Flap discs combine cutting and finishing in one tool, popular for the blending stage (P60–P80). Their overlapping flaps flex against the surface, which forgives uneven pressure and reduces the risk of gouging.
- Quick-change (R-type) discs suit spot blending and tight areas in the finishing stages (P120+), where a small disc on a die grinder gives control that a 4-1/2 inch angle grinder cannot.
For all of them, the grain choice is the same question: brown fused alumina is the standard because it cuts carbon steel and stainless efficiently, resists dulling under heat, and costs far less than ceramic alternatives. For the finishing passes where surface quality matters most, some shops run zirconia or ceramic at P120 and finer — but the knockdown and blending stages are where brown fused alumina earns its place.
Stainless Steel Needs a Cleaner Grit
On stainless steel, grit selection carries an extra constraint: iron contamination. A disc that has been used on carbon steel — or grain with high surface iron content — can embed free iron in the stainless surface and seed rust later. Shops that weld both metals typically:
- Keep separate discs (or at least separate backing pads and work areas) for stainless.
- Start one grit finer than they would on carbon steel: knockdown at P40 rather than P36, because the finer scratch pattern is easier to passivate afterward.
- Rely on grain with controlled iron content. Ask the supplier about magnetic content specifications alongside the P size.
Common Mistakes to Avoid
- Blending with the knockdown disc. Running a worn P40 to "finish" work-hardenes the surface and leaves a scratch pattern no coating will hide.
- Too much pressure. Let the grain cut. Pressing harder shortens disc life, builds heat, and actually reduces removal rate once the grain overheats and dulls.
- Wrong pad for the job. A hard backing pad under a fiber disc flattens welds well but gouges on edges and contours; switch to a medium or soft pad for the blending stage.
- Ignoring scratch direction. Blend in the direction the final finish will be seen, especially on visible stainless — random grinding marks show up under a clear or brushed finish.
- Buying grain on price alone. In coated abrasives, the P-grit specification covers size distribution, grain shape, and surface cleanliness — not just the nominal number. Two suppliers' "P60" can cut very differently if the distributions differ.
A Practical Shop Checklist
- Define the end finish first. Painting? Powder coating? Visible brushed metal? The answer decides how fine the sequence must go (paint hides P80–P120 scratches; a visible finish may need P180 or finer).
- Stock the sequence, not a single grit. At minimum, one coarse (P36–P40), one blend (P60–P80), and one finish (P120+) disc.
- Qualify the grain before volume orders. Run the P-grit series from your supplier through the actual three-stage sequence on your own material and measure: removal time per weld, discs consumed, and final surface appearance.
- Lock the specification — size, distribution limits, iron content, and packaging — before the production order.
Summary
Weld blending with brown fused alumina comes down to a disciplined grit sequence: coarse P36–P40 to knock the weld down, P60–P80 to blend into the base metal, and P120–P180 to finish. Never skip a step, keep stainless work separate, and qualify the grain on your own material before buying in volume. The sequence is simple; following it is what separates clean fabrication from rework.
Luoyang Naibao New Materials Co., Ltd. has processed brown fused alumina since 1999 and supplies the full P-grit range for coated abrasive makers — sanding discs and sandpaper, abrasive belts, and custom P-size grain. If you are qualifying grain for a coated line, start with sample lots of your two candidate sizes and run them through the real sequence — the welds will tell you the rest.